


{blog design: finding inspiration and resources}
to begin with, i started scouring the internet for ideas. there are so many blogs and so many designers that figuring out where to start was almost the hardest part. i had originally thought that i wanted to pay a blog designer to handle everything but, like i said, the more i looked around the less and less impressed i was by other people's ideas. as i started to form in my mind what i actually wanted, i could find no one that i thought could actually put it all together for me.
if you are wanting to redesign your blog or come up with a design for a new blog, i strongly suggest makin' cute blogs as a resource. they have a ton of information, freebies, tutorials, downloads and what i found to be most helpful, a directory of blog designers. i started here and clicked over to almost each designer's website and looked through their portfolios, jotting down ideas that i liked and elements of the blog that drew me in.
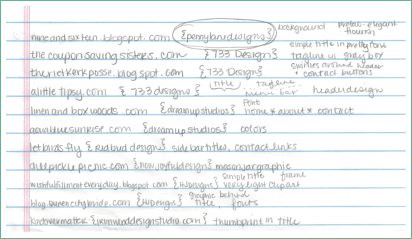
here is my list. if i found a blog design that i liked, i clicked over to the blog and made notes of things that caught my eye. i made sure to record the url of the blog and the designer along with notes about what i liked in case i needed to refer back to a specific page or designer later.
tip one: always click through to the blog to check things out! you can't always see everything you want to see in a screen shot on the designer's page!
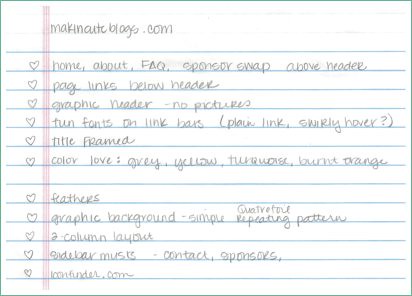
next i made a list of things that i knew i liked and wanted to incorporate into my blog. these were things like a layout style, header preferences, background ideas, and graphics that i thought tied into my blog well. i also wrote down my favorite colors to keep them in my head while i was looking through graphic elements.
tip two: start to look for similarities in the list of things you love and the list of designer and blogs you were drawn to! that is how i narrowed down what i liked and what i thought i could actually incorporate into my blog.
the next thing i did was draw a sort of "mock up" of what i dreamed my blog would look like if i could have anything i wanted.

now i don't claim to be an artist in any form of the word but i did the best i could. i also knew that things would not look exactly like this and that i would have to be open to changing elements, arrangements, colors, etc. i just tried to loosely wrangle my ideas onto a sheet of paper.
you will also notice all sorts of notes about colors, fonts, random ideas... those were added as i came across things i liked. when i started it was a very sparse rendering. all the notes that fill up the page came later.
also, to protect my hard work, i blocked out the fonts i used and the one color code on the page that i ended up using.
tip three: wait until you have decided on & purchased the graphic elements before you choose specific colors. i had the color palette in my head but didn't actually determine the hex color codes until i had a graphic element kit to keep from having to guess!
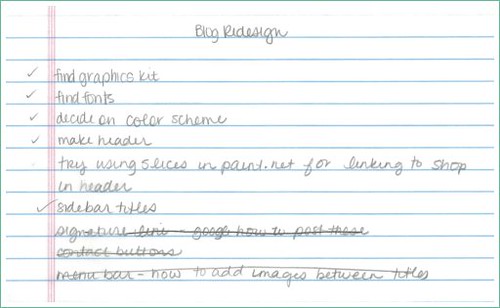
lastly i made a to-do list of sorts to keep the tasks outlined and organized. it also helped it from totally overwhelming me when it came to making sure i had everything taken care of so that it would all fit into the theme and feel of the new design. it was a huge help for my a-list personality. :D
tip four: don't be afraid to add something to your list that you aren't sure you can do! challenge yourself to learn something new!
then i turned to every diy-ers most awesome, amazing tool: google. it is pretty cool - have you heard of it? i googled everything! how to install web fonts, where to find graphic elements, how to edit css. here are a few of the key websites that i used:
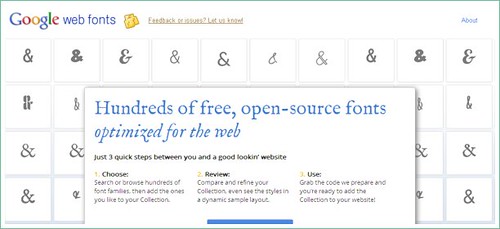
google web fonts. these are custom fonts that you can install into your blog to make it all fancy shmancy like this. you can also download them onto your computer so that you can use them when you make your header and sidebar titles.
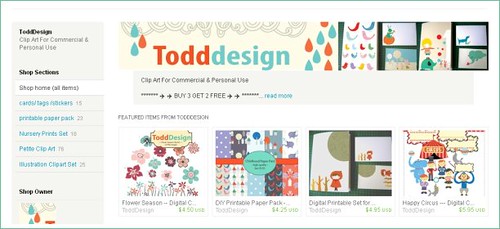
todd design is where my graphics came from. this is another one i really enjoyed scrolling through the items.
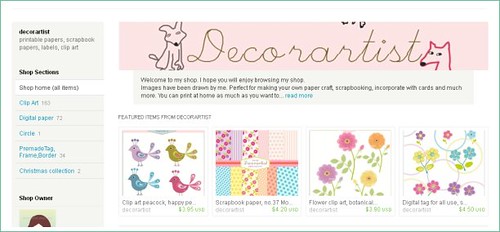
there are sooo many designers on etsy that i really encourage you to just go and search for digital clip art.
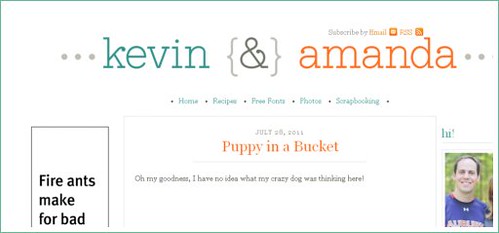
this website is chock full of awesomeness. they have great tutorials, a ton of free downloadable fonts, and awesome photography tutorials. i have been stalking kevin & amanda for a while. i suppose my love for them has now been made public.
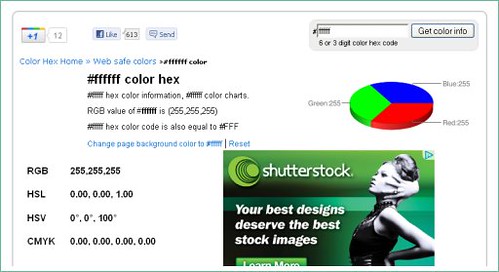
once i had my graphics and had determined the 6-digit color hex codes (tutorial for that on the way) i had to figure out the rgb codes to use in microsoft publisher to arrange my graphics. i promise once i show you how to do it all that gobbledygook will make sense!! this website was amazeballs. it gives you every code you can possibly need for any possible color you can dream up. definitely recommend it.
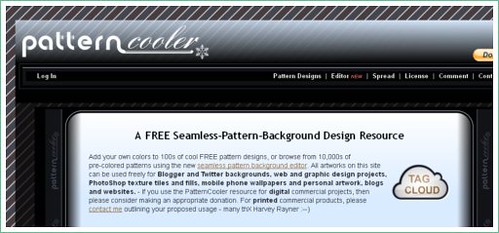
with this website you can choose from one of their almost 200 patterns and customize it to your color preference and then download it to your computer.. for free! i ended up not using any of the several patterns i made on here but i probably spent too much time playing on this website.
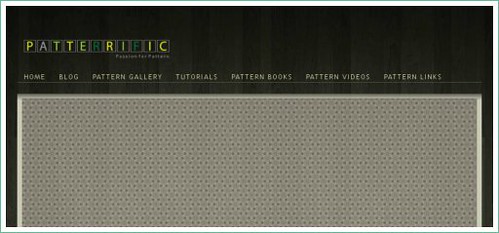
another great website for free seamless patterns for backgounds.
photobucket, flikr and picnik have also been completely invaluable in this process! i finally broke down and upgraded to flikr pro and picnik premium. i say you can go free or pay on either but for me the pro & premium accounts have worked out better! i am using flikr to host all of the pictures for my blog, picnik to edit them and photobucket to host all of the elements for the blog.
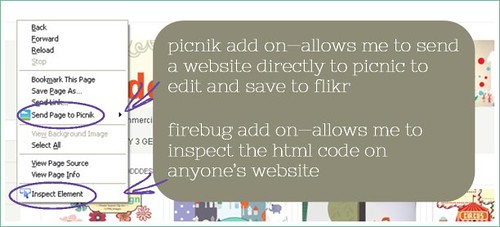
and lastly i have found two totally necessary for me "add ons" for mozilla firefox. if you have mozilla firefox (and if you don't i definitely recommend it over internet explorer and it is free to download here) just go to tools > add-ons and the search for firebug and picnik and they should come up.
i used the picnik one to send screen shots of web pages directly to the editing portion of picnik for my blog tour post yesterday.
the firebug is extremely useful if you are designing a website. if you are on any website at all you can highlight the portion you are interested in, right click on it and click "inspect element" and it will display the html for that portion on the screen like so:
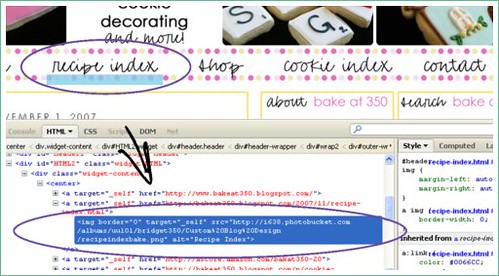
here i right clicked on the "recipe index" link on bridget's page and it shows the link for the "recipe index" button image. if it were just a word it would show the style, font, size and color code for it in the css coding. it is scary at first but if you play around with it you can learn a lot about other people website's and how they are coded and how you can incorporate that into your website!
i hope this has been helpful! i really enjoyed learning all this and i am excited to share more of it with you when i start to figure it all out!
tip five: before you start tinkering with your blog i most definitely recommend creating a private blog that you can practice on! then once you finalize your design you can apply all of your new beauty to your regular blog without potentially messing anything up!
Whoa! I would've LOVED these resources a couple weeks ago! :) I'm going to bookmark a few though. Great tips!
ReplyDeleteThanks for sharing this Skye! This is soooo going to help me as I continue to spruce up this around my blog. =D
ReplyDeleteGreat Design! I love your happy color scheme.
ReplyDeleteAWESOME! Thanks so much for sharing your process. Hoping to follow in your footsteps! EbenezerRising.blogspot.com
ReplyDeletethis is awesome. i attempt to do my own blog designs too and it takes me FOREVER to figure everything out. thank you for the helpful tips. your blog looks AWESOME!
ReplyDeleteThanks for such good info. I saw your blog on makin cute blogs and I think it's adorable!
ReplyDelete