


{crafty saturday} another mod podge project!
today i have a project to share with you that my SSS, mccall made!
{that would be super sweet sister-in-law}
this project is so simple and is a great way to use up remnants of scrapbooking paper.
what? i know you have scraps of that stuff lying around, waiting to be used!
this is also just a basic method tutorial. there are so many different ways you can make this your own which makes it perfect! customize it to your liking - colors, types of paper, overlaying design, embelishments... go to town!
start with the following supplies:
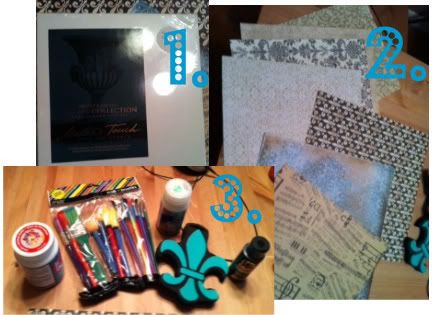
1. a canvas. any size or brand will do. this came from hobby lobby with a 40% off coupon!
2. leftover scrapbooking paper. you want it to be coordinating colors.
3. mod podge, paint brushes, craft paint and a stamp
4. other options besides the stamp would be a stencil, the old "pencil rubbing technique" or freehanding
this is where you let your creativity take over. by any method desired start breaking down your scrap paper. you could cut it into uniform squares, tear it for rough edges, use pinking shears, or burn the edges with a candle for a really vintage feel.
then start layering and desiging the pages on the canvas in a pattern that makes you happy!
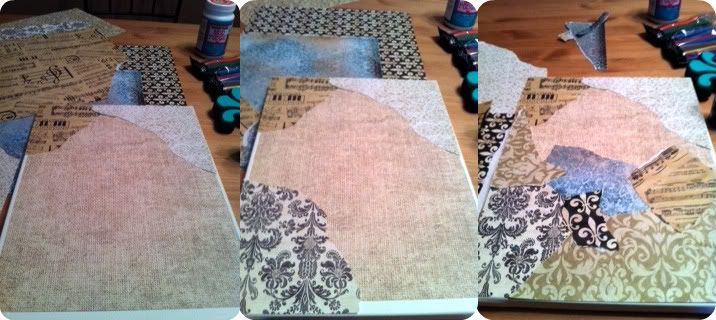
you can see here that mccall used one big sheet as her background and then placed smaller pieces around and over it.
make sure you go over the edge and wrap it around the back. use the modge podge to attach the paper to the canvas and then put another thin layer of it over the paper. this will ensure it sticks as well as possible!
make sure you let the mod podge dry thoroughly (i would suggest at least an hour or so or overnight if you can wait that long!) then using the stamp (or stencil or paintbrush - whatever you have!) overlay the design of your choice.
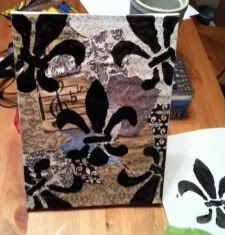
you can do one big design in the middle, make a pattern or go crazy and make it all willy-nilly!
after the craft paint dries go over it with another coat of modge podge.
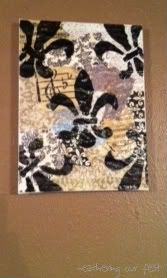
then hang your pretty creation on the wall and admire it!
thank you SSS for hooking me up with this sweet little project for the blog!
this is really cool! i have been looking for a fun/cheap/pretty idea for something to hang in my bathroom. i believe i just found it!!
ReplyDeleteGREAT idea - love the addition of the stamp! Awesome!
ReplyDelete